The following steps should be taken when configuring the system to route inbound email to Office 365.
Locate your MX record for your domain in Office 365:
- Log in to the Office 365 Exchange Admin Center (EAC)
- Click on Domains from the left side navigation panel
- Select the domain you wish to manage
- Click Domain settings
- Under Exchange Online, locate the MX row in the table from the Points to address column
- Note this information down
Create a new inbound route for Office 365 in the portal:
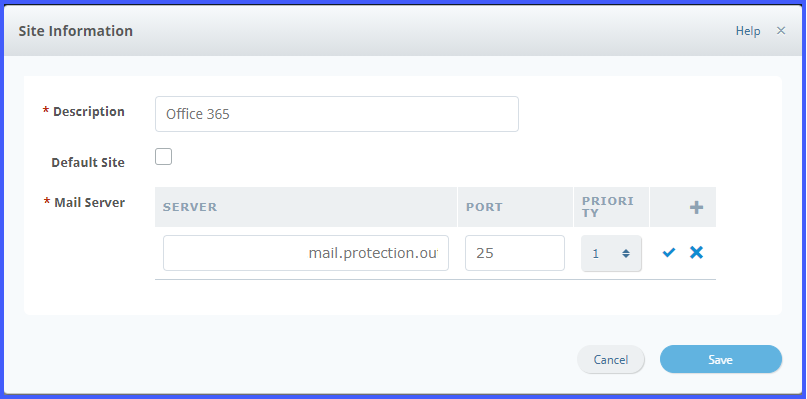
- Click Service Settings > Inbound Routing > Add Site
- Give the site a name in the description box, such as Office 365 as an example
- Click the green + sign and add the MX record you got previously for Office 365 into the box
- Click the blue tick icon and then click Save
Note: The new inbound route will take about 15-20 minutes to become fully usable.
When you are ready to change mail flow to Office 365:
If the domain already exists in the VIPRE Email Security portal:
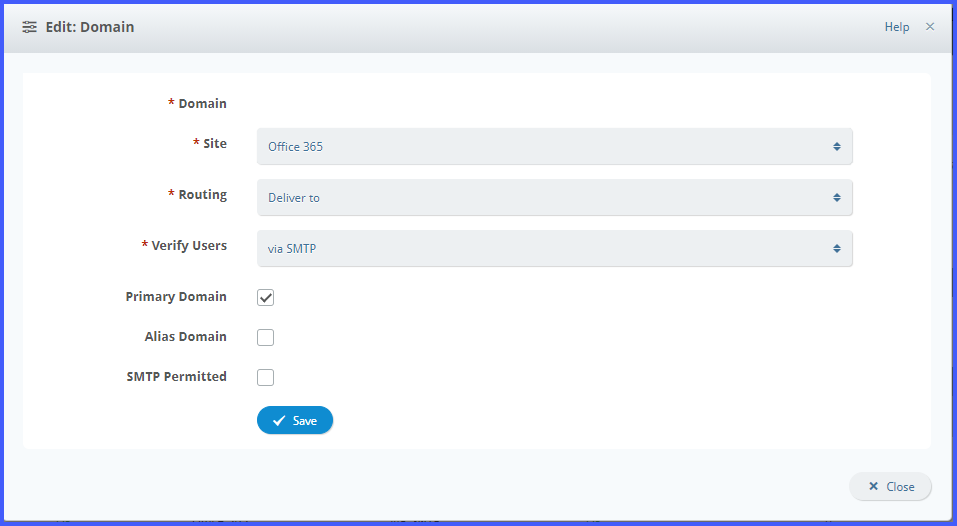
- Click Domains
- Click the Edit button for the required domain
- In the Default Site drop down box, select the new inbound route that was created above.
- Click Save
If the MX records already point to us, the above steps will ensure that email is sent to Office 365 from VIPRE Email Security.
If the MX records do not point to us, you may now change the MX records to point email to the our service. Mail flow will start soon depending on the Time To Live of your MX records.
Note: We advise disabling all filtering in Office365 as this can reduce the risk of False Positives from us delivering mail.
We also recommend creating receive connector on Office 365 : Office 365 - Receive connector


Carlos Rios
Comments